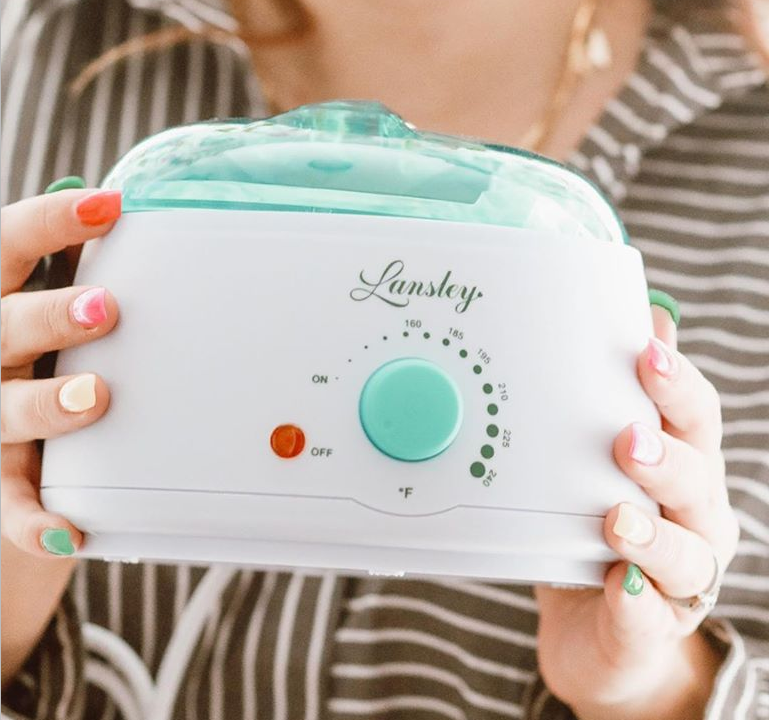
Be careful or you may end up pulling off the client’s entire eyebrow
After reading too many waxing horror stories, Lansley feels it an urgent must to reveal the fact that there are actual wax-it-right tips one can pick up as a total first-timer and, despite the learning curve.
TO BEGIN WITH, DOES WAXING HURT?
Imagine your unwanted hairs are pulled out by the very root, leaving no stubble. Obviously it causes pain. The simple but often ignored fact is: Hair removal (of any kind!) can cause trauma to the skin, and it’s normal for skin to react in its own way.
Be that as it may, waxing yourself should definitely not be a nightmare. With the whole industry’s bidding to deliver a both enjoyable and efficient hair removal session, you may find it overwhelming to test and choose the one that hits exactly the nail for you.

READY FOR AN AT-HOME DIY?
We’ll go through what to prep your skin properly for initiating a successful waxing session in our future creation, but today we’ll just focus on the key to an effective waxing result and that is, the correct way of application!
Now let’s wax!!
IT’S ALL ABOUT THE TWIRL
When making sure you are using a hard wax with the highest quality polymers, rosins and ingredients, the first thing to do is dip the spatula into the pot and get the amount of wax needed for the target area. Usually we recommend not to pick up a too heavy stroke because you can always come back and go over the place again.

Time to play with the bulb.
This starts from your picking up the wax from the pot: keep twirling and twirling so that the wax doesn’t drip. This would be a good trick to check if the wax is at an applicable condition: too runny may suggest it’s gonna be too hot for the skin. The ideal consistency of the bulb should usually be like thick, liquid honey, or molasses.
FOLLOW HAIR’S GROWING DIRECTION
Now, move the bulb to your skin and get the wax off your stick. Nightmares may usually stem from here
In that way, your starting point should be at the “top” of the direction of hair growth.
As you drag the stick from top to bottom with proper pressure (for ensuring the wax’s clinging to the base of the hair follicle), there may turn out to be different thickness of layers, which is not an even application. Don’t worry about it, we’ll fix it with second or even three tries. Now just keep going with the first strip and when getting close to the edge you want to finish, try to create a “lip” by making a curve and then coming back down.
This so-called lip indeed is a thicker layer of wax which would allow an easy-to-go removal when hardens. Make sure the edges of your strip are smooth, or it will break into multiple pieces, making it a lot painful when removed.
Once again, when dispensing more wax for a decently thick layer, always follow the direction of your hair. Many would advise to wax first with the hair’s growing direction, then go back over it in the opposite direction. This, however, is proved to be more effective during a cleanup strip. If your first strip does grab most of your hairs, then go for the cleanup, that is, applying wax in the opposite way and BOOM!! Those little missed hairs just zip away.
If you’re feeling too daunted to start with or things just don’t go right as expected, leave us a message right below or email us support@lansleyllc.com, we’d be more than happy to share and help.


Leave A Comment