

Quick Guide:
A warm (but UNPLUGGED) wax heater is always much easier to clean.
A bit of mineral (baby) oil plus paper towel/wax strip can best remove the old wax build-up (Yayyyy…I know).
A dry cloth with a little rubbing alcohol helps you get rid of any excess oil/greasy touch.
What to Prepare:
Clean paper towels or paper(cloth) wax strips
A pair of nitrile gloves/rubber gloves
A transfer container for storing the leftover wax
Rubbing alcohol
p.s.:
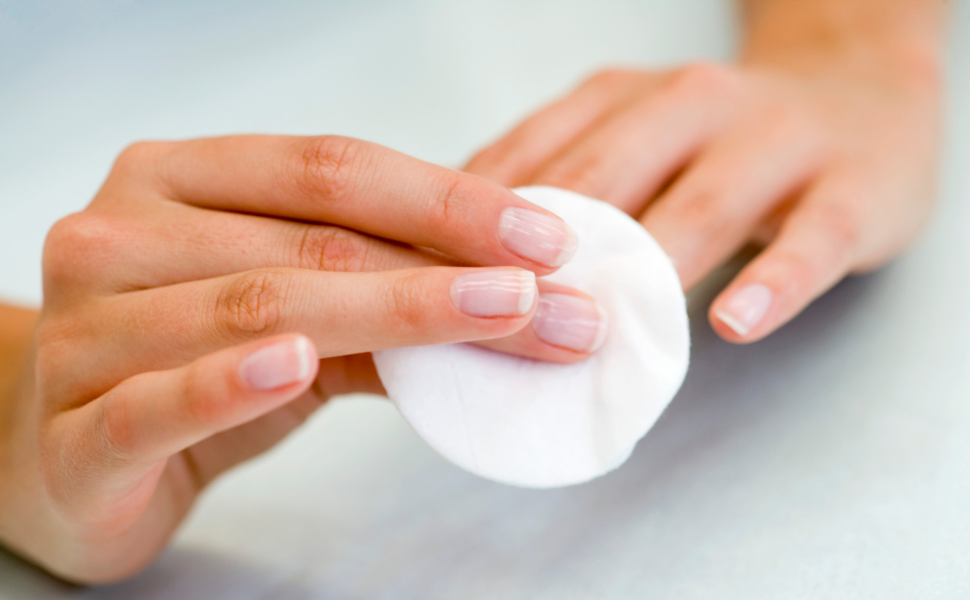
Cotton balls would not be recommended as they may break and stick to the paste while cleaning.
Wear protective gloves like black nitrile gloves in case you don’t get burned or messy.
Read on if you goal is a THOROUGH cleaning without shortening your machine’s LIFE SPAN.
Perhaps you’ve noticed that wax is EASIEST to remove when it’s still warm. In fact that’s the MAGIC that works along the whole cleaning process. Here we go, the safe, effective at-home cleaning tips that would save you so much time and effort to keep your wax warmer shiny new!
⚠Never clean out the metal chamber or any other part of your wax warmer with a steel scourer. In this way the surface integrity of the machine would be DAMAGED, causing micro grooves for bacteria/dirt to hide.
To start off please choose from:
1. Just finished a waxing session. The wax is still a thin consistency.
Lucky you! You can skip the heat-up step.
Unplug your heater and proceed depending on how you’d like to deal with the remaining wax:
(1)I want to DISPOSE all of them
Swirl clean paper towels(or clean wax strips instead) around the metal chamber with a wooden spatula. This is to soak up and wipe most of the wax out. Repeat this process until it manages to get rid of all the unwanted wax.
🚫Attention: Do not pour liquid wax down the drain because you don’t want your drain blocked due to the solidified wax.
(2)I want to STORE them for later use
To store the excess wax, just make sure the container is dry and properly sterilized as well as the wax is CLEAN (in our case, we mean “clean” as keeping the whole wax kit personal without sharing it with your besties, family members.) .
What is PROPERLY STERILIZED?
Rubbing alcohol or simply, boiling water will just do the trick.
2. The wax has hardened a little/completely.
Switch the warmer on. Note that a maximum setting is not necessary as we are only heating it up until the wax began to melt into a thin consistency.
Here are 2 options to remove:
Option 1: No need to wait until the wax fully melts. When the heat has helped the wax loosen itself at the edges and bottom as well, you can easily scoop it out as a SOLID/HALF-SOLID PIECE using a quality wooden spatula.
Option 2: If you find option 1 is a bit tricky for you, just skip it and let the wax be heated up to a state that it can spill easily but not burning hot.
Now simply go back to the 👉“Unplug your heater” paragraph to unlock the following steps.
Now that most of the wax has been wiped out, you may probably want to conquer the dried-on cold wax along the rim/sides of the container pot or on the plastic exterior of the machine!
How do we get rid of those stubborn bits of wax build-up?
Just rock & roll with a small amount of mineral (baby) oil as OIL DISSOLVES WAX and Ta-da! You’ll wave BYEBYE to the tacky or sticky feeling.
The container bucket – Make sure it has cooled a bit and pour in a little bit mineral (baby) oil. Swirl it around to dissolve the residue away.
The warmer’s outside – Wipe it clean with a paper towel or waxing strip plus a little bit mineral (baby) oil.
Finish with rubbing alcohol/a gentle dishwasher, or simply a dry cloth to get rid of any greasy touch.
OIL VS. WAX SOLVENTS
One thing to remember is that oil outperforms solvents in terms of the heater’s longer term maintenance. Using wax solvents on the plastic outer pot, over time, can cause it to CRACK.
Its compact, love the temperature variance.